Your Toyota Tacoma is more than just a mode of transportation; it’s your dependable companion on the road, ready to tackle daily commutes and off-road adventures. To make your driving experience even better, consider upgrading your truck’s audio system. In this detailed guide, we’ll take you through the step-by-step process of upgrading the speakers in your 3rd generation Tacoma. By the end, you’ll enjoy an enhanced sound system and a newfound appreciation for your trusty vehicle.
We will explore 3rd Gen Tacoma speaker upgrade.
Contents
Understanding Your 3rd-Gen Tacoma Sound System
Before delving into the exciting world of speaker upgrades, let’s start by understanding the foundation: your Tacoma’s factory sound system. The 3rd generation Tacoma typically comes equipped with a basic audio setup that gets the job done, but there’s room for improvement. Here’s what you need to know:
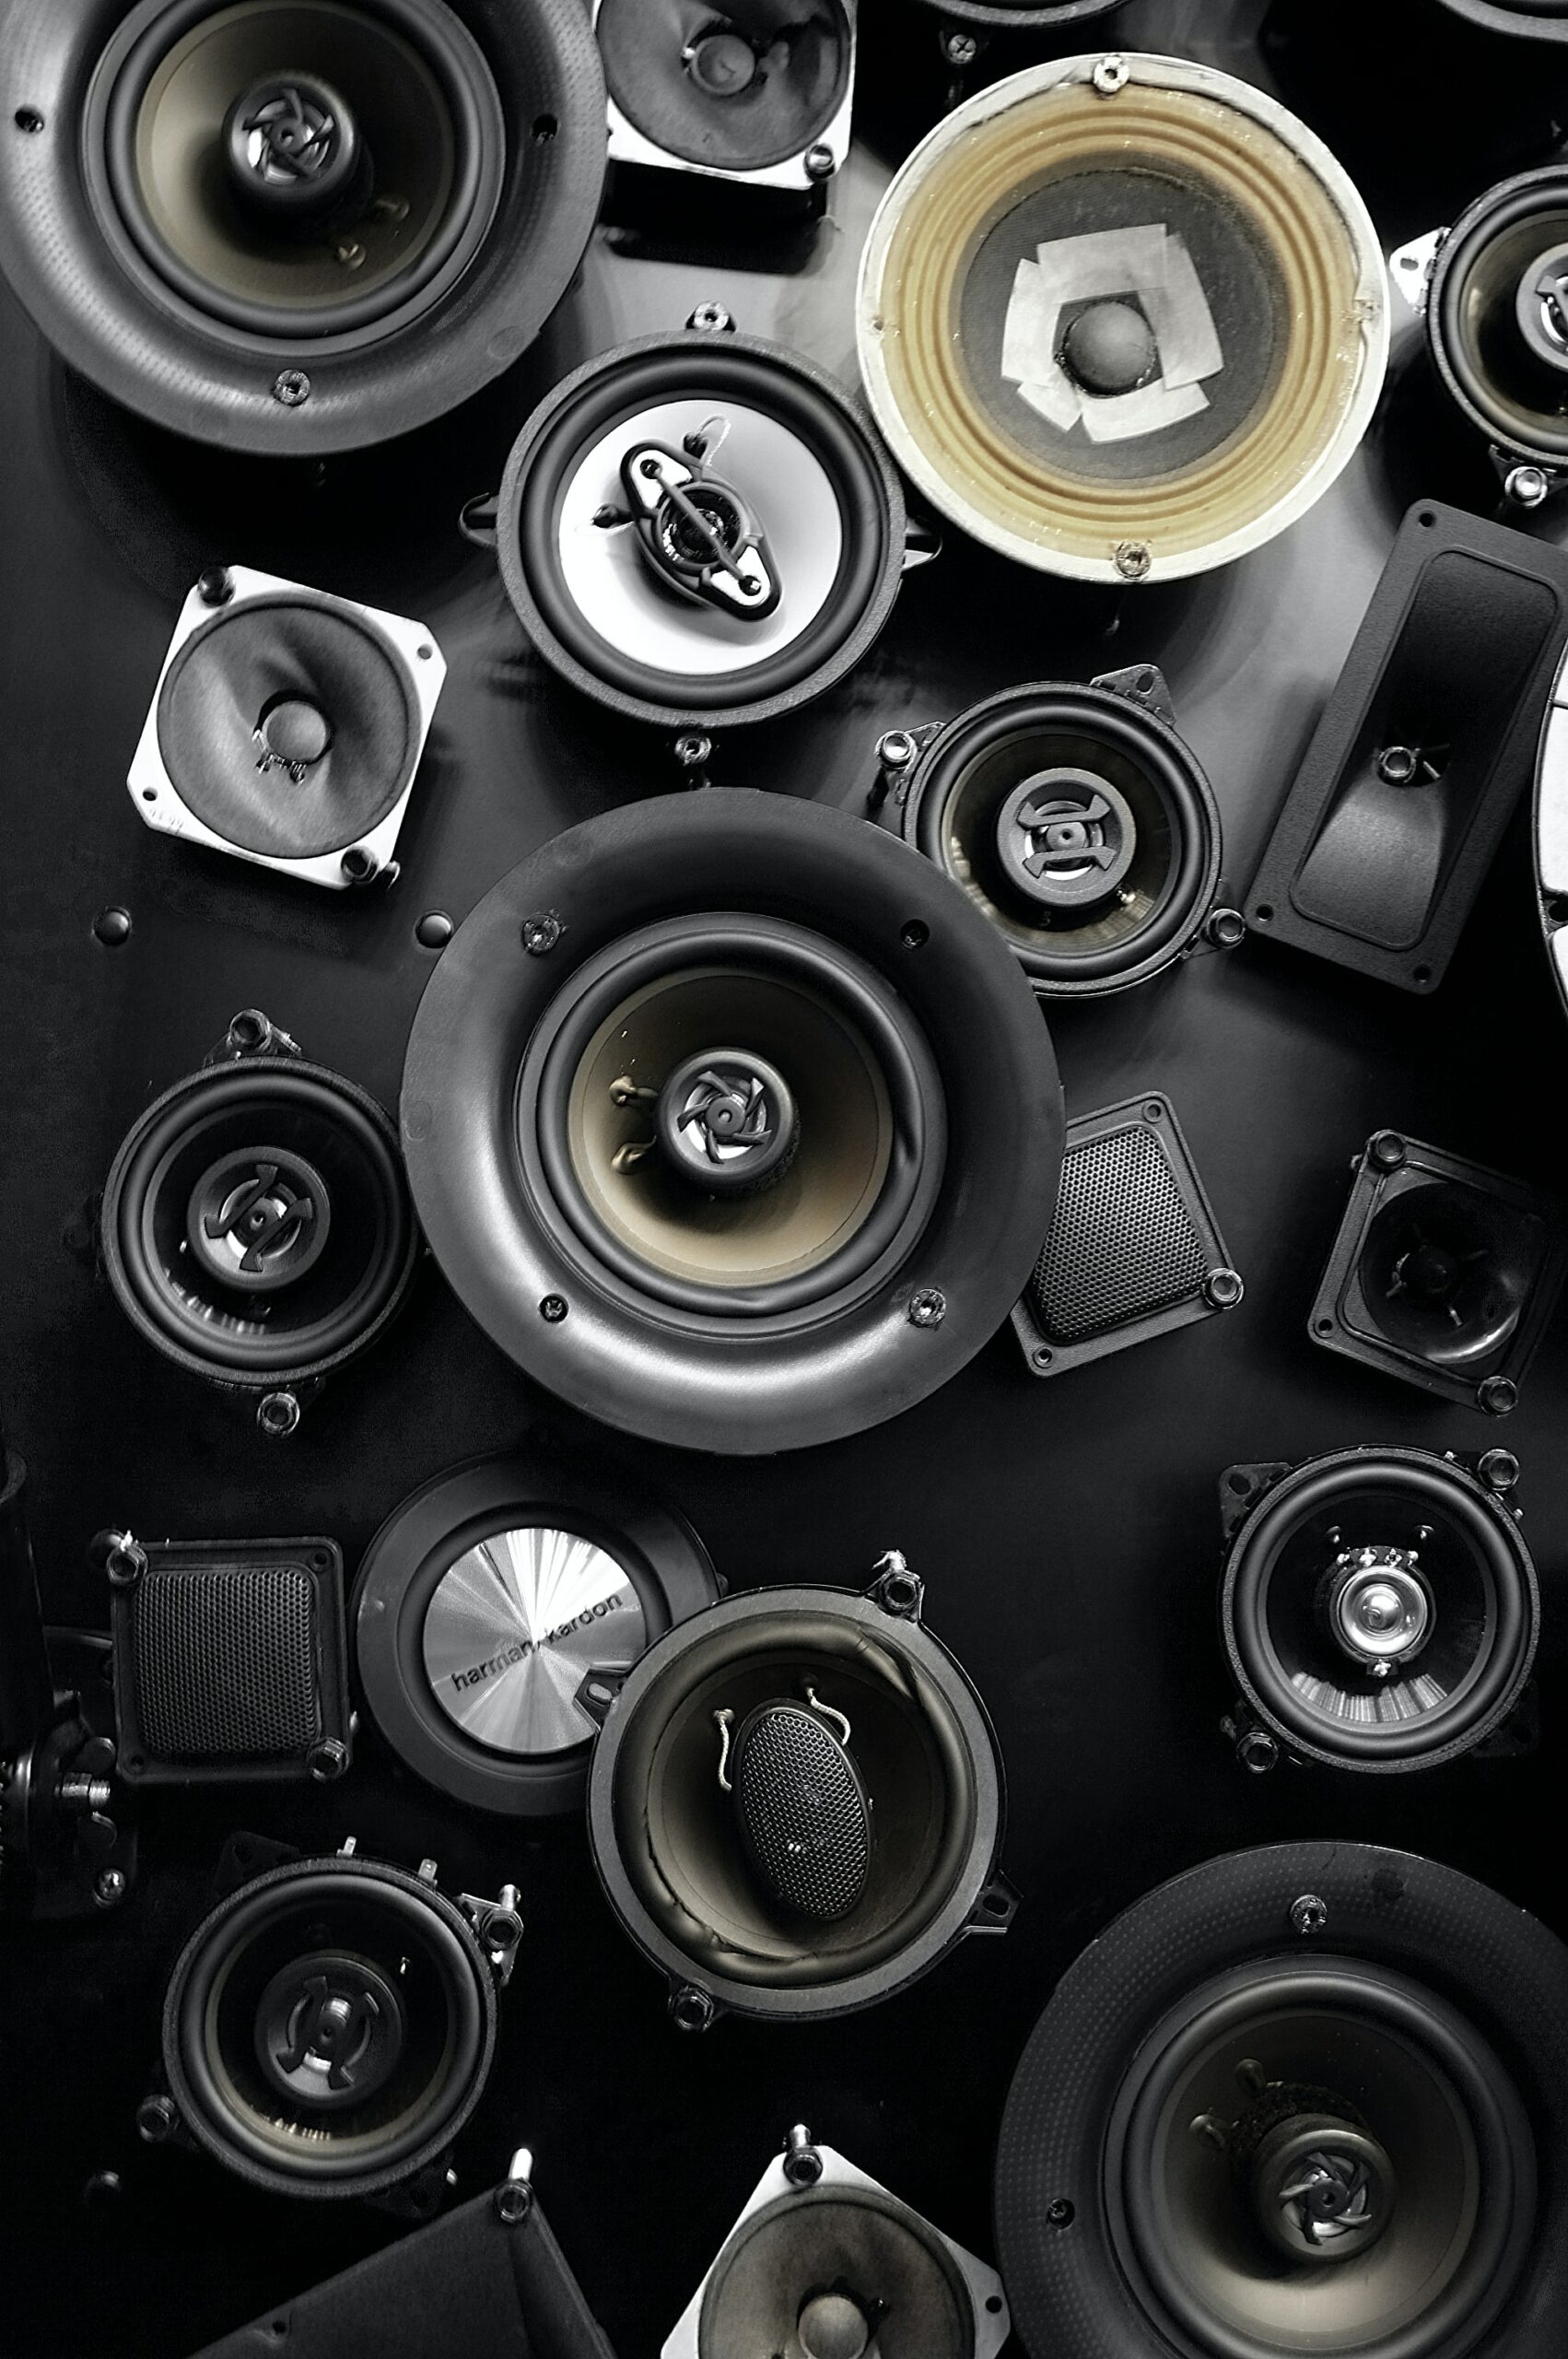
- Factory Speakers: The factory-installed speakers in your Tacoma are usually designed with budget considerations in mind. This can result in subpar sound quality, making it an ideal starting point for an upgrade.
- Common Audio Issues: Over time, factory speakers can deteriorate, leading to problems like distorted sound, reduced clarity, and weak bass. If you’ve noticed these issues, it indicates that it’s time for an upgrade.
- Choosing the Right Speakers: Upgrading your Tacoma speakers allows you to select models that align with your audio preferences. You can choose whether you prioritize clarity, powerful bass, or an overall improved sound quality.
Choosing the Right Speakers
Now that you’re committed to the upgrade, let’s delve into the specifics of selecting the perfect speakers for your Tacoma.
- Speaker Size: Determine the appropriate speaker size for your Tacoma’s doors. The front doors usually accommodate 6.5-inch speakers, while the rear doors can house 6×9-inch speakers.
- Power Handling Capacity: Check the power handling capacity of the speakers to ensure they can handle the output from your head unit or amplifier. Matching the speaker’s RMS rating with your amplifier’s output is crucial.
- Sensitivity: Speakers with higher sensitivity are more efficient at converting power into sound. This efficiency can improve performance, so look for speakers with sensitivity ratings above 85 dB.
- Impedance: Ensure that the speaker’s impedance matches your vehicle’s electrical system. For most vehicles, 4-ohm speakers are the standard choice.
- Reputable Brands: Consider well-established brands such as Pioneer, JBL, Kicker, and Alpine, all of which offer a range of speaker options suitable for the 3rd-Gen Tacoma.
Tools and Preparation
The required equipment and materials should be gathered before beginning the installation process:
- Screwdrivers (both Phillips and flathead)
- Panel removal tools
- Wire crimpers and strippers
- Soldering iron (if required)
- Wire connectors and crimps
- Multimeter (for testing purposes)
Furthermore, prioritize safety by disconnecting the vehicle’s battery to ensure your well-being while working with electrical components.
Removing Factory Speakers
You must remove the door panels to access and replace your Tacoma factory speakers. :
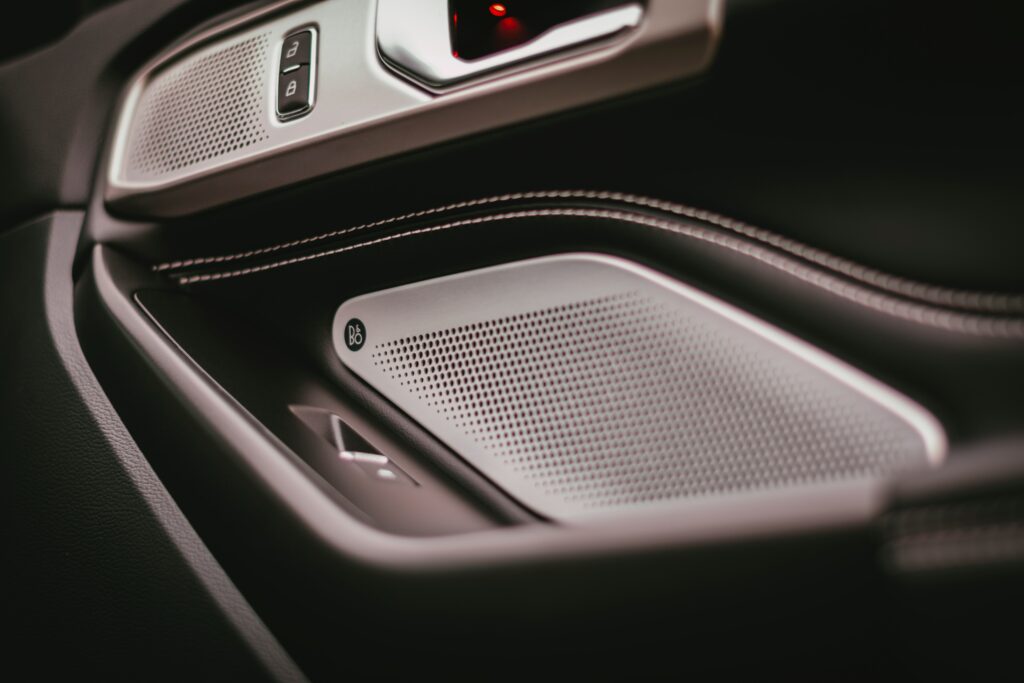
- Utilize your panel removal tools to pry off the door panel carefully. Begin at the edges and work your way around to release the retaining clips.
- Once the clips are free, lift the panel upward to detach it from the door frame.
- Locate and remove the screws or clips securing the door’s factory speaker.
- Carefully disconnect the wiring harness from the speaker.
Installing New Speakers
Now that you’ve removed the factory speakers, installing the new ones is time. :
- Place the new speaker in the same location where the factory speaker was mounted. Confirm that it fits securely in place.
- Connect the wiring harness from the new speaker to the vehicle’s wiring. Depending on your setup, you may need to crimp or solder connections.
- Secure the speaker using the screws or clips provided with the new speakers.
Testing and Troubleshooting
Before you reassemble the components, it’s crucial to test the newly installed speakers to ensure they’re functioning correctly. Here’s what to do:
- Briefly reconnect the vehicle’s battery to power up the audio system.
- Play music or an audio test track to verify the new speakers are working as expected.
- Double-check your wiring connections and ensure the speakers are securely mounted if you encounter any issues.
Soundproofing (Optional)
For those seeking an even higher level of audio quality, consider adding soundproofing material inside the door panels. This additional step can minimize vibrations and external noise, enhancing sound quality.
- Purchase automotive soundproofing material (like butyl rubber sheets) and cut it to fit the door panel’s interior.
- Apply soundproofing to the door panel, focusing on areas around the speaker to reduce vibrations.
Reassembling and Fine-Tuning
With the new speakers successfully installed and tested, it’s time to put everything back together:
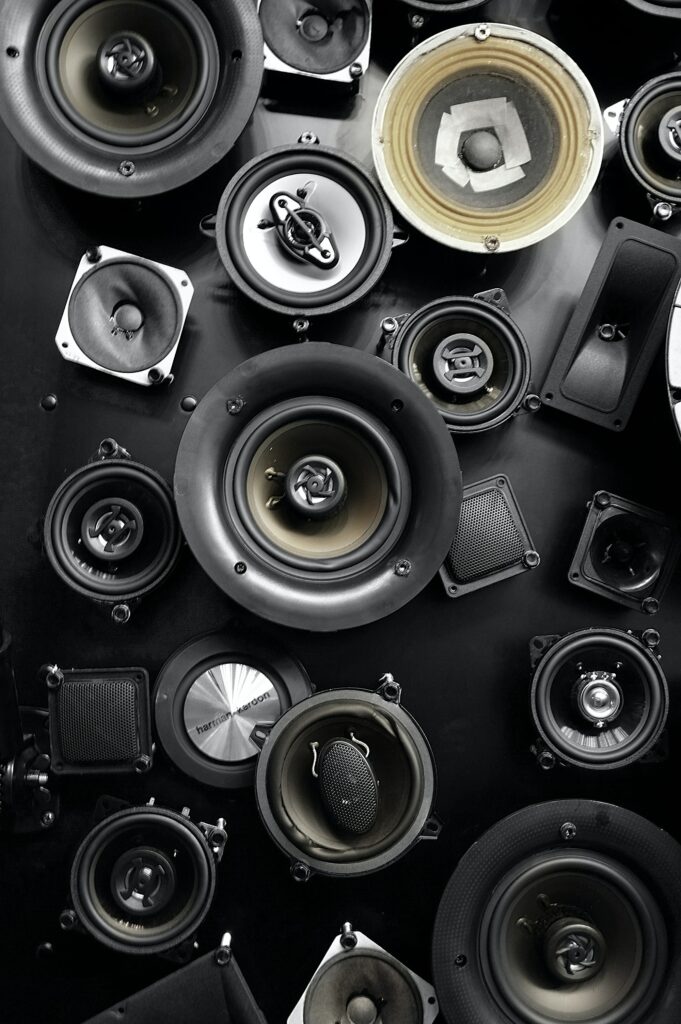
- Carefully reattach the door panel, ensuring that all clips are securely fastened.
- Tighten any screws or clips that hold the panel in place.
- Reconnect the vehicle’s battery.
- Power on your audio system and fine-tune the settings to optimize the sound output from your new speakers. Adjust the equalizer, balance, and fade settings as needed.
3rd Gen Tacoma speaker upgrade
Upgrading the speakers in your 3rd-gen Tacoma is a rewarding journey that can significantly improve your driving experience. With the right speakers, tools, and meticulous attention to detail, you’ll enjoy enhanced audio quality and a renewed admiration for your reliable Tacoma.
2023 Toyota RAV4 Door Replacement Cost: Unveiling Savings Strategies
Is the Toyota Highlander good for off-road? in 2023
EPB Shift Interlock: Best Explanation (2023 update)


